Many offices favor laser printers for their ability to produce a high volume of print work quickly and for a low cost. Some consumers also choose laser printers for use at home for the same reasons. Whether you use a laser printer at home to print party invitations and school reports or you’re cranking out hundreds or even thousands of pages at a time in the office, it helps to know a bit more about the device you’re using in case any problems arise. We’ve narrowed down seven of the most common problems that consumers encounter in their day-to-day laser printer use. Read on to learn how you can solve your current laser printer predicaments and prevent future issues!
*A word of caution: some printer problems may require you to reach inside the printer to remove obstructions, clean various components, or replace internal parts. Always unplug your printer before reaching into it, avoid sticking your fingers into any moving parts, and wait for your laser printer to cool down before touching any internal components.

1. I can’t install/remove the toner cartridges.
For a seasoned pro, installing and removing cartridges from a laser printer is a piece of cake. If you’re new to laser printers, though, you may find it a bit more challenging than replacing the ink cartridge in an inkjet device. Even if you’ve been using laser printers for years, there’s always the possibility that an improperly installed cartridge could cause the door/cover on your device to remain ajar. If your toner cartridges aren’t installed correctly, it can prevent your printer from functioning properly.
Diagnosis: A toner cartridge is ajar, stuck inside the printer, or otherwise improperly inserted. This could be caused by a number of things, including use of the wrong cartridge model. The most likely fix for this problem is to take the cartridge out. If it’s empty, replace it with a new cartridge. If it still has toner left inside, install it back in the printer, taking care to insert the cartridge properly.
- Always turn your printer off before attempting to change a cartridge. You don’t want your hands inside the device while its internal components are moving or heating up. Let the printer cool down for an adequate period of time after turning it off, then carefully measure its temperature before touching any internal parts.
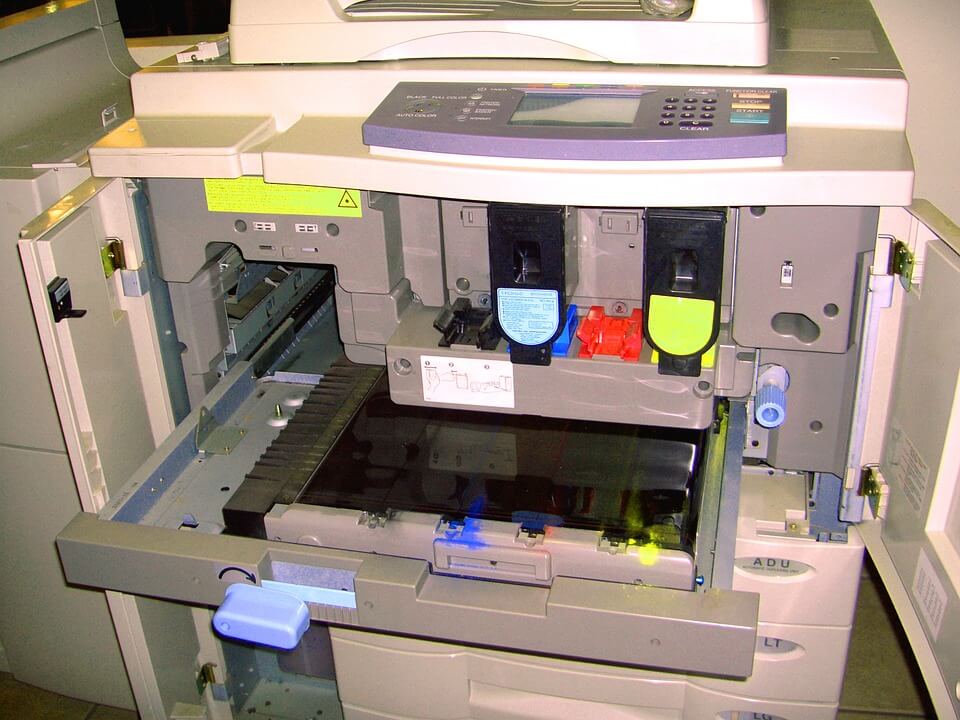
- Open the cover. This will be a front-facing panel on many laser printers, though you may encounter other designs.
- Grasp the handle on the drum unit and pull out the entire toner cartridge/drum unit together.
- Release the toner cartridge from the drum unit. Depending on your printer model and drum unit, this may be done with a switch, lever, or button. Do not force the cartridge out of the drum unit. If it won’t release, try using the lock/unlock mechanism again. If it’s still stuck, you may need to call a specialist to help remove the cartridge without breaking the drum unit.
- Make sure you’re using the right toner cartridges for your specific printer model. The wrong cartridge can make it difficult to close your printer’s panel door and may inhibit normal print functions.
- Unpackage your new cartridge, line it up with the drum unit, and gently but firmly press it into place. On many models, you will hear a soft click when the cartridge is locked into the drum unit.
- While the drum unit is out of your printer, slide the tab along its edge back and forth to clean the internal corona wire. Some drum units may not have this feature, but if yours does, it’s worth doing this extra bit of maintenance to help prevent print quality problems down the line.
- Slide the combined drum unit and toner cartridge combo back into place inside your printer. Make sure it’s properly lined up and be sure to slide the drum/toner combo all the way in so that your printer’s panel will close properly.
- Close the printer’s door/panel and turn on your printer. If your printer has a display screen, wait until it shows that the device is in “ready mode” or otherwise indicates that you can begin printing again.
Solution: Always use the right toner cartridge for your specific printer model. If you’re unsure about what type of cartridge you need, you can consult 1ink.com’s Quick Ink Finder on the top left banner of our home page. You can also click on your printer brand (for example, HP) from the top banner, scroll down to your printer series (like DeskJet, for example), then choose the specific printer model you own (in this example, HP DeskJet 3630).
Make sure you always install your cartridges properly the first time to prevent them from getting stuck. Taking a moment to check the cartridge model and align it properly in your printer will save you a lot of time and frustration in the long run.

2. I keep getting paper jams in my laser printer.
If you want to solve a paper jam problem in your printer, it’s fairly straightforward. However, recurring paper jams may be indicative of some other issue at play. Take a look at your owner’s manual and perform a little light troubleshooting before you give up on your expensive laser printer.
Diagnosis: Either the page was misaligned, the paper was too thick, or the paper took on moisture prior to use. No matter what caused the jam, the first thing you’ll need to do is remove the paper that’s stuck inside your device.
- Check the pathway that paper travels through inside your printer. Some printers will indicate where the jam has occurred, while other models will require a bit of investigative work. You can usually get a decent assessment of the jam’s location and severity just by visually inspecting the interior.
- Avoid sticking your fingers inside any of the gears. In order to prevent the possibility of getting your fingers caught, it’s best to turn the printer off before you begin trying to remove the jammed page(s).
- When you find where the page is stuck, carefully grasp the paper and firmly pull it straight out. Avoid pulling to one side or tugging without a firm grip on the paper, as this may cause the paper to rip. A torn page will be even more difficult to remove, so try to keep it all intact!
- If the page is firmly wedged between the rollers inside your printer, check the owner’s manual for how to release a trapped piece of paper.
Solution: If you suspect that the page was misaligned (one of the most common causes of paper jams), open your paper tray and take out the stack of paper inside. Square the edges of your entire stack, line up the stack properly with the inside of your tray, and set the stack down in the correct position.
If you’ve done all this and you still experience paper jams, the issue could be your paper. Check your owner’s manual, browse an online resource, or contact the printer manufacturer to find out whether your printer was designed to use that type/stock of paper. If it isn’t, stop using it immediately and purchase paper that is supported by the specific printer model you’re using.
You should also keep your paper reserves stored in a cool, dry place. Environmental moisture can cause paper to warp or stick together, creating an unwelcome challenge to your usual printing routine.

3. My device prints too slowly.
A slow printer can wreck your productivity. It doesn’t matter if you’re working from home or in an office, you want your work to look good and print quickly. Some printers simply have a faster print speed than others. Typically newer models print faster than older ones, though this isn’t necessary a fixed rule within the printer industry. However, no matter what type of laser printer you’re using, there are a few tricks you can use to improve your print speed.
Diagnosis: Your printer may be slow for a number of reasons. You could be using default settings that favor quality and efficiency over speed. You may also be using the wrong print drivers.
- Turn off duplex printing if your device offers this feature. When you use two-sided printing, your printer needs to turn the page over in order to complete the document, which can take a lot of time. You’ll consume more paper and consequently increase your paper expenses, but you’ll improve print time quite a bit.
- Check the print quality settings. Many printers feature different options regarding the quality of your print work. There’s typically a draft mode, standard quality mode, and highest quality mode. If you don’t need your work to look spotless, switch it to draft mode and you’ll significantly speed up your print time.
- Some printers allow you to switch between different printer drivers. PostScript drivers are ideal for getting good graphics, but this can slow down your print speed. Instead, opt for your printer’s host-based driver system (the setting in which your host computer processes the print work). You can also use your printer’s PCL (Printer Command Language) driver to improve your print speed.
Solution: Check your printer’s settings and try making some of the aforementioned changes until your print speed improves. If your print speed does not improve after making these changes, you may need to upgrade to a newer printer. Shop around for the best price and always look at the print speed and product specs of a given laser printer before you purchase it.

4. The toner keeps running out faster than it should.
Everyone has experienced it at some point – you’re in the middle of a project and you get that dreaded “low toner” warning. Most cartridges fall short of the page yield reported in the product specs, but that’s not because they’re improperly filled or labeled. Within the printer industry, page yields are calculated based on a 5% average page coverage. In other words, when technicians perform print tests to determine the page yield of a given product, they’re printing about a paragraph worth of text. If you’re printing full-page text documents or color images, your actual page yield will be substantially lower.
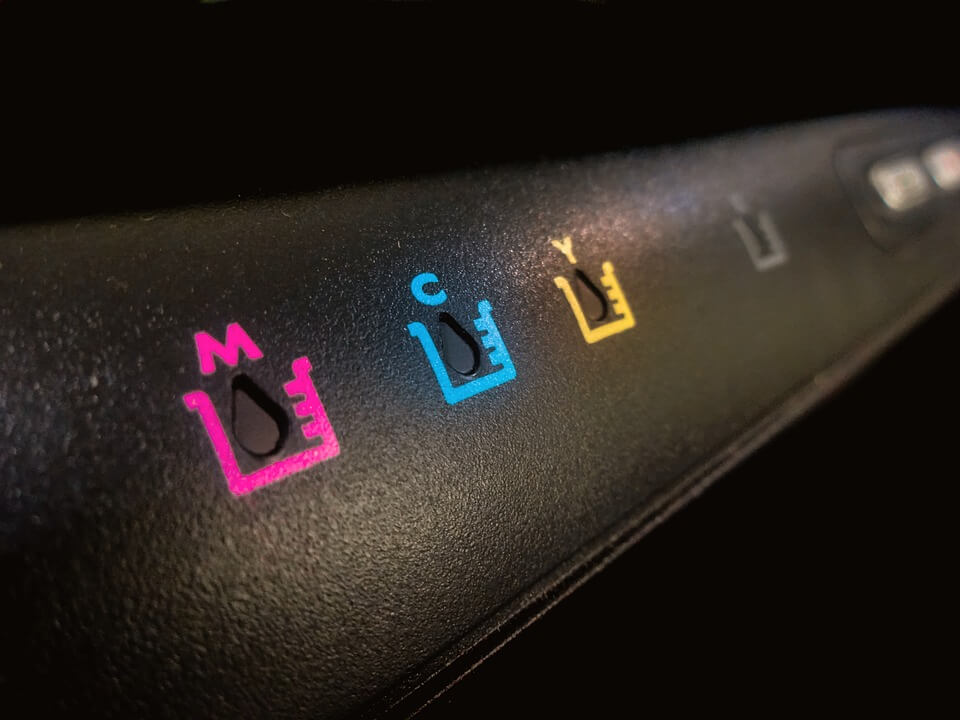
Diagnosis: You could be running low on toner, or your printer may just preemptively warn you that your toner levels are low. Many printers come with toner level monitors, but the accuracy of those measurements varies tremendously from one printer model to the next, even within the same brand or printer series. Some cartridges that are recognized as being empty by printers still contain as much as 60% of the toner inside! If you’re convinced your cartridges could be lasting longer, you do have several options that may help you improve your cartridge life.
- Try removing your toner cartridge and gently shaking it. If there is any toner stuck to the walls of your cartridge, shaking it gently will help remove that toner. It can also distribute the toner more evenly throughout the cartridge.
- Avoid using color toner unless you have to. Generally speaking, black cartridges have a higher page yield than color cartridges, and they typically cost less than color cartridges (though neither generalization is an absolute). You’ll also save more toner, as you’ll only have to replace the black cartridge instead of having to replace the entire set.
- Not all cartridge models come in a high-yield version, but if you’re able to get cartridges with a higher page yield, you’ll get more print work per cartridge. You may have to pay a little more for a high-yield unit, but you will ultimately save money when compared to the cost per page of using a standard-capacity cartridge.
Solution: Opt for high-yield toner cartridges whenever possible. Ultimately, though, the best way to get more toner out of your cartridges is to keep printing until you notice substantial fading on your print work.

5. My print work turns out blemished (blurring, banding, streaking, etc).
There are many different possible causes of blemished print work. It could be a defective cartridge (which can happen with any brand, including expensive OEM products), or it could be that something inside the printer needs to be cleaned or replaced. The specific problem will depend on your printer’s brand, series, model, condition, and environment.
Diagnosis: Unfortunately, this problem will require a bit of trial and error. You can use this handy troubleshooting guide as a starting point to figuring out what’s wrong with your print work.
- Blank spots – these may be caused by a simple cartridge defect, or it could be something more serious like a damaged transfer roller. Try replacing the cartridge first. If that doesn’t fix the issue, try examining the inside of the printer (if accessible on your printer model) to see if you can detect any obvious obstructions. If it still won’t print correctly, try replacing the transfer roller.
- Faded print work – frequently caused by a cartridge running out of toner, but it may also be a sign that you need to clean your printer’s laser mirror or replace the transfer roller.
- Lines across the page – may be a sign that you have a defective cartridge, or it could mean that some internal component needs to be cleaned or replaced.
- Smeared print work – could be a problem with the cartridge, but it’s also very probable that the problem lies with your drum unit. Every time you change the toner cartridge, a little bit of residual toner powder gets left behind in the drum unit, which is why it’s so important to change the drum unit after the estimated lifespan (usually measured in the number of pages printed) has passed.
- Smudges can sometimes be fixed by printing a series of blank pages. Try printing several blank sheets in a row and see if your print quality improves at all.
- Stretched/Distorted images – this problem is a bit more difficult to diagnose and it’s more expensive to fix. It could be caused by a problem with the laser scanner, the engine controller board, or the cables that connect to your printer’s engine controller board. You may need to replace one or more of these components if the problem persists.
Solution: Try replacing the toner cartridge first. If that doesn’t solve your problem, consider replacing the drum unit, cleaning internal components like the laser scanner/mirrors, or replacing those internal components.

6. The print quality isn’t very good on my printer.
Have you ever printed something with the expectation that it would look more or less the way it does on your computer screen, only to get completely different results on paper? While differences in resolution can create a disconnect between print quality and on-screen quality, you may need to make some adjustments to get the most out of your printer.
Diagnosis: Your print quality is most likely lacking due to the settings on your printer. These may be default settings, or you may have previously chosen them for a different project and forgotten to revert back to your normal settings.
- Try adjusting the color levels, brightness, and contrast in your printer’s settings.
- Increase the print quality in your printer’s settings/properties menu. Choose “best quality” or the equivalent for your printer.
- Instead of regular office printer paper, opt for a paper type that comes with a smooth, coated surface. Depending on the project you’re working on, you might choose glossy, low-gloss, or matte paper.
- Make sure you’ve selected the right paper type in your printer driver. If your printer thinks you’re using a different type of paper, it may affect how toner is applied to the page.
- If one side of your paper is not usable (due to something like a glossy surface), make sure you insert the pages correctly so that the text/image appears on the right side.
Solution: Try making manual adjustments to the settings menu for your printer. You may be able to find the print quality you need by making a few simple changes. You can also try changing the type of paper you’re using – just be sure your printer knows that you’re using that type of media.

7. It costs too much to print.
A lot of people worry that they’re spending too much money on printing supplies. The sad reality is that most people are right! Printer manufacturers operate on a business model similar to that of razor blades: you can get the shaver for free or for a very cheap price, but the replacement razor blades are very expensive. Similarly, printers are sold at a low price, but the printer manufacturers recoup that lost profit (and then some!) through toner cartridge sales.
Diagnosis: If you’re buying original equipment manufacturer (OEM) cartridges, you’re probably spending too much money.
- Compatible and remanufactured replacement cartridges from 1ink.com are designed to match the quality and print performance of OEM cartridges.
- Depending on the cartridge model you need, you could save up to 85% off the OEM price by choosing 1ink.com’s remanufactured/compatible cartridges instead of OEM products!
- 1ink.com’s toner cartridges are backed by a full year warranty, so there’s never any risk.
Solution: Cut costs wherever you can, but don’t feel bound to buying OEM products just because you need high-quality print work. 1ink.com’s compatible and remanufactured toner cartridges are guaranteed to perform just as well as the OEM version, all while lowering your print costs.
